Showing posts with label Franken. Show all posts

Friday, April 4, 2014

Koi Fish.


I almost named this post "Jelly Fish" for no other reason than it made me giggle. After my fail of a seahorse, I still wanted to try making an image go across all my nails. Other than a little mess up on the middle finger (it's a bit twisted) I really like it! I painted my nails white (when my bottles of white get low I pour them all into one bottle, so this is a mixture of Sally Hansen "White On", Wet n Wild "French White Creme" and Milani "White On The Spot") I then stamped with Cosmetic Arts "TGIF" using Messy Mansion plate MM29. I colored in the Koi using OPI "Y'all Come Back Ya Hear?" making sure to leave uncolored white patches. Then I filled in the water with a frankened blue jelly I made. I love this so much more than my seahorse from the other day!

And here is the Koi fish for comparison in-case you're not sure what a real one looks like.


Wednesday, March 5, 2014

Book of Kells


Well, I wanted to do a St. Patrick's Day mani without using green, and I think this qualifies! I was falling asleep a few nights ago trying to come up with a green-less mani and had a brilliant idea. The Book Of Kells! I could mimic the calligraphy and colors used in that famous illuminated manuscript. I fell asleep that night knowing I had solved my problem. The next morning I could not remember my idea to save my life. I knew I had thought I came up with an answer, I just couldn't remember what that answer was. Frustrating. It took me a couple days, but I did eventually remember it.


A note about the base color. I've been looking for a perfect "old parchment paper" color. Not a stark white, but a slightly yellowed, maybe almost creamy brown type of color. I have not been able to find what I was looking for anywhere. So I decided to make one. I didn't take progress shots because, honestly, I didn't expect it to turn out as well as it did! I took an empty bottle of top coat, poured in some Wet n Wild "French White Creme". I don't use it all that much since I discovered Cosmetic Arts "Picture Day" for stamping. I then added in a small amount of Sally Hansen "Lighting" and a couple of drops of Milani "Dark Coffee". The color was perfect! Exactly what I was looking for!

Image from Wikipedia.

I then sponged on just a little bit of Sinful Colors "Nirvana" in random areas to look like older, browning areas of the paper. Then came freehand time. Using a small detail paint brush I painted large decoative letters on the thumb (Essie "Fifth Avenue" ), index ("Lightning" again), and ring (Wet n Wild "Saved by the Blue"). Outlined the letter in Wet n Wild "Black Creme" and dotted around the edges. Middle and pinkie got random letters that I hope look like the calligraphy in the Book of Kells. I wish I had some Celtic knots to add around the edges, but over all I'm pleased. Turned out much better than I thought it would.

Friday, August 2, 2013

Mosaic Inspiriation


During my last trip into Chicago I took alot of photos. Mostly of colors and effects I wanted to duplicate with nail polish. This image is a bit dark but its from the Chicago Cultural Center. The whole building was full of mosaics, mostly in tones of green, blue and gold. This is my first attempt to mimic the colors.


I started off with China Glaze "Blue Sparrow" and layered Sinful Colors "Love Nails" on top to give it a pearly look. Then I painted a triangle of white on the tip so China Glaze "Tree Hugger" would stand out better over the blue. Then to give it a streaky semi-precious stone look I painted one of my franken polish green jellies over it. I'm not thrilled with the out come yet and will keep tweaking it to get a stone look. I accented the triangle with some gold striping tape I just got the other day. It was also super humid and rainy that day so the cheap topcoat I use on my practice nails rippled and dried weird and wrinkly. Still a work in progress.

Sunday, June 9, 2013

Love Letters


And a second take on my purple milky glitter franken. I'm really working on my layered stamping, but just don't quite have the hang of it yet. I stamped BundleMonster BM311 in Sally Hansen "Grape Race". On the accented ring finger I stamped again in BundleMonster BM323 (isolating one of the roses) in Milani "White On The Spot". I like it, but its still missing something. Maybe if I stamped in a super pale purple instead of white....I dunno. Still working on it.

Saturday, June 8, 2013

Lace Ribbons


Here is the milky glitter I made yesterday. Of all my frankens, this is my fav so far. I really need to make more milky glitters! Stamped with BundleMonster BM321 in Milani "White on the Spot". Very easy, light and girly. Sorry for the short post, I'm having some real internet problems and I'm trying to get a few posts done fast before I lose net again.

Friday, June 7, 2013

Nail Polish Lexicon ~ Franken Polish

A Franken Polish, like Frankenstein's Monster, is a polish made up from other polishes. A drop of this and a drop of that to make a whole new creation. I have just started making up my own starting with a hideous topcoat that has been sitting around in my stash for years. It became thick and yellow and I was NEVER gonna use it. I probably should have thrown it away, but now I'm glad I didn't. A couple drops of thinner, some color from other polishes, and a pinch of glitter and I have my first Franken.


Here I really wanted a St. Patrick's polish, a nice Emerald or Kelly green with gold hex glitter floating in it like gold coins. While I'm proud of it it does have a major issue that I still need to research. The glitter falls to the bottom fast and needs to be shaken constantly to get it on the brush. I've heard that to add glitter to polish you need a suspension liquid to add to the polish so the glitter stays spread out, but I don't have any and don't know what could work in its place. Here is a close up of the jelly like green.


And of course I can't stop at one Franken Polish!


Now, how exactly do we make a Franken? Find out more after the jump!

Thursday, June 6, 2013

My First Franken


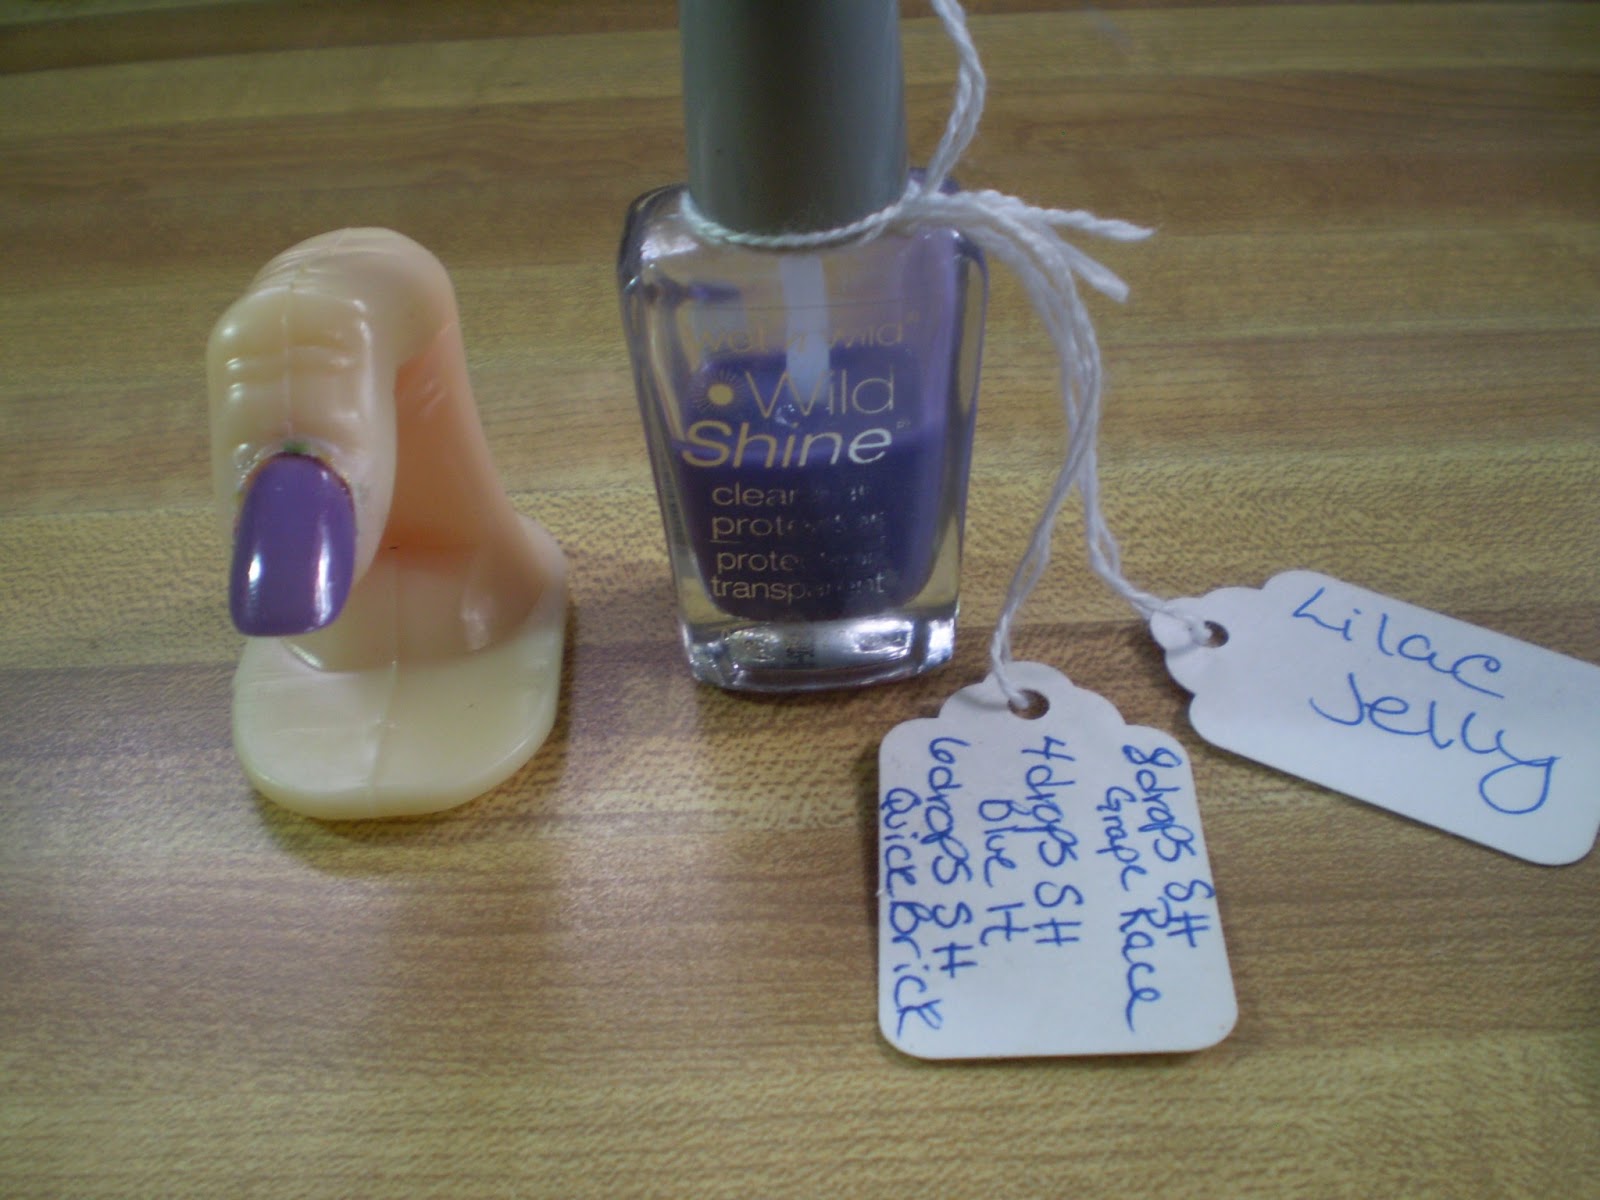
Guess who just took her first steps into the world of Frankening! I'm gonna make a Lexicon post on Frankens later but I'm just so excited I had to share this first. Basically I took a clear polish and added drops of other polishes to make a new color. I'm still learning how to make the colors opaque, but I'm excited about these first few bottles I made. Both the yellow and coral have a hint of shimmer to them but it's not coming through in the pictures well.


So much fun! I'm off to buy some more clear polish. And maybe some empty bottles...