Showing posts with label Accessories. Show all posts

Friday, July 18, 2014

Dragon Eggs


These magnificent little gems have been popping up in all my nail polish groups these last few days. Dragon Eggs! I adore them! The tutorial I have been following is by Accio Lacquer.  The only real difference is she says she used about 200 thumbtacks, but my count is closer to 600, but I think that is mostly because I got a bigger egg by accident. That's right, you heard me, thumbtacks. The basic idea is you paint the heads of the thumbtacks with nail polish and push them into a Styrofoam egg. Very easy, but time consuming. And polish consuming I found out.

Materials:


  • Styrofoam Egg
  • Thumbtacks (The large the egg, the more tacks you will need)
  • Nearly full bottles of polish and topcoat (for my example I used Sinful Colors "Enchanted" Wet n Wild "Buffy the Violet Slayer" and Fresh Paint "Candy Crush")
  • Cardboard, corkboard, or foamboard. Something to hold the tacks while you paint them.


No way to get around it, this is the long boring part. Push your thumbtacks into something to hold them in place. First time I did this I used a pizza box. This time I just using a couple sheets of cardboard. Don't push them all the way down or you might get em stuck to the cardboard when you paint. Try to leave some space around each one so they don't get stuck to each other either.


300 tacks....


And 600 tacks. Long and boring, but it helps so much when you paint em.


I started off with Sinful Colors "Enchanted" a deep almost eggplant purple. One coat of that followed by the slightly shimmery color Wet n Wild "Buffy the Violet Slayer". By the time you finish painting the last tack, the first is dry and ready for next coat. I topped it all off with a coat of Fresh Paint "Candy Crush" and lovely flakie. You can topcoat as well, for the green egg I did, but I ran out so purple egg isn't topcoated yet. I think I'll get some spray sealant for it.  For an egg this size you will almost used a full bottle of polish each coat. Like 2/3 of a bottle. That's why I suggest you start with nearly full bottles and cheap ones. First egg I did, my green one, I had no idea just how much polish this eats and used my beloved China Glaze "Running in Circles". It's not empty yet, but it was a wrench to part with that much of it.


This part goes much faster than the stages before it. Time to stick em on the egg! Now the eggs has a narrow and a fat end. You want the fat end to start with.


In the center of the fat end push your first tack in. Doesn't have to be exact, just eye ball it.


Your gonna want to spiral out from that tack. Each tack you put in needs to overlap the last tack you put in. It also helps if it overlaps the row below it too. These aren't glued in (tho you can if you want to) and the tack you put in holds all the tacks before it in place. That sounds confusing. I made a short video of what I mean but blogger is being a pain and not loading it right. I'll keep working on that.


Just keep going spiraling outward and upward.


Get the idea?


Keep going!


And your done! My camera has a tough time with blue-leaning purples, but it is way more purple in real life. I love how the flakie adds just a subtle magic to it.


And my first egg, Sally Hansen "Emerald City and China Glaze "Running in Circles". And I used gold thumbtacks instead of the silver I used in my purple one. Now time to make some sort of padded chest to store them in. I'll be experimenting with smaller eggs later this week. I still want to make a red holographic one and a white pearly one.

Wednesday, January 15, 2014

How To: Fan Brush Manicures

The Fan Brush. Nifty little thing. You don't see mani's with it too often anymore, but I just got my first one and am eager to try a new (to me at least) technique. Pick the colors you will want to use. I went with a base color of Sally Hansen "Straw-ready" and will paint on the colors "French White Creme" and "Black Creme" by Wet n Wild using the brush.


First you need to paint your base color and let it dry.


The fan brush is simply a paint brush with the bristles fanned out in a arc. You can find this at most art stores and some beauty supply stores.


You can use acrylic paint if you like. Paint will be easier to clean out of the brush later, but if you are careful then polish is fine. You just want paint/polish to be at the tips of the brush. If you saturate the brush it will be a huge pain to clean later. I dabbed some polish on a paper plate and just dipped the tip into the puddle. I then tapped excess polish off because I wanted thin pretty lines.


Polish just on the tip of the brush.


In a smooth stroke, brush the polish on the nail from one side to the other. I think I may have dabbed off too much because half way across the nail my polish ran dry and I had to go again starting from the other side to the center.


Do the same thing with your second color and you are done! Very simple artwork that just requires the use of a different sort of brush. You can keep adding more colors or more coats of the same colors. It just depends on the design you are trying to create.


Friday, October 11, 2013

MoYou Review


I am totally and completely in love. I want every single plate MoYou has ever made. I touched on it last month during the 31 day challenge, but now that the challenge is over I get to show you my first pretties I got from them. I placed my order for 2 plates at the end of September and will place a larger order in November (gotta save my pennies up). Back in Sept there was only one "mural" style plate and I had to have it! Now there are 21 to date. What do I mean by mural style? So glad you asked!

This is what a regular stamping plate usually looks like. Squares of images laid out in a grid on the plate.


This is the "Back to the 80's 02" plate by MoYou. Some size comparisons to BundleMonster 300's set. As you can see these are smaller than BundleMonster full size images. Just after I got these plates they came out with "Extra Large" images, but I don't have any of them yet.


That was the standard layout for a stamping plate. The mural style plates are like individual artworks all by themselves. This was the first mural they made called "Suki Collection 01".


I was simply blown away by the beauty of it! Just look at all the detail in there!


As much as I love them, I would caution new stampers to gain some experience, especially in isolating images before tackling them. Then can be intimidating to a new stamper. If you're an old hand at it, I highly recommend them.

These pictures make them look very large, but I was surprised that they were much smaller. They are about the size of 2 round plates side by side.

               
Instead of the standard paper backing to keep from cutting yourself on the plates, they have a thicker plastic backing that is just slightly larger than the plate so it looks like its framing it.

I know, you want to see some manicures done with it. I'm working on it, but here is the picture from Day 10 of the challenge last month.


And me just playing around with my new toys. I was super excited and didn't take the time to place some of the stamps properly so some are off center. I'll be better next time.


I'm losing my mind over these plates. I've compiled my wishlist, just waiting for November to place my order. 

Sunday, September 15, 2013

31 Day Challenge: Day Fifteen ~ Delicate Pattern


Day 15! We're half way thru the challenge!

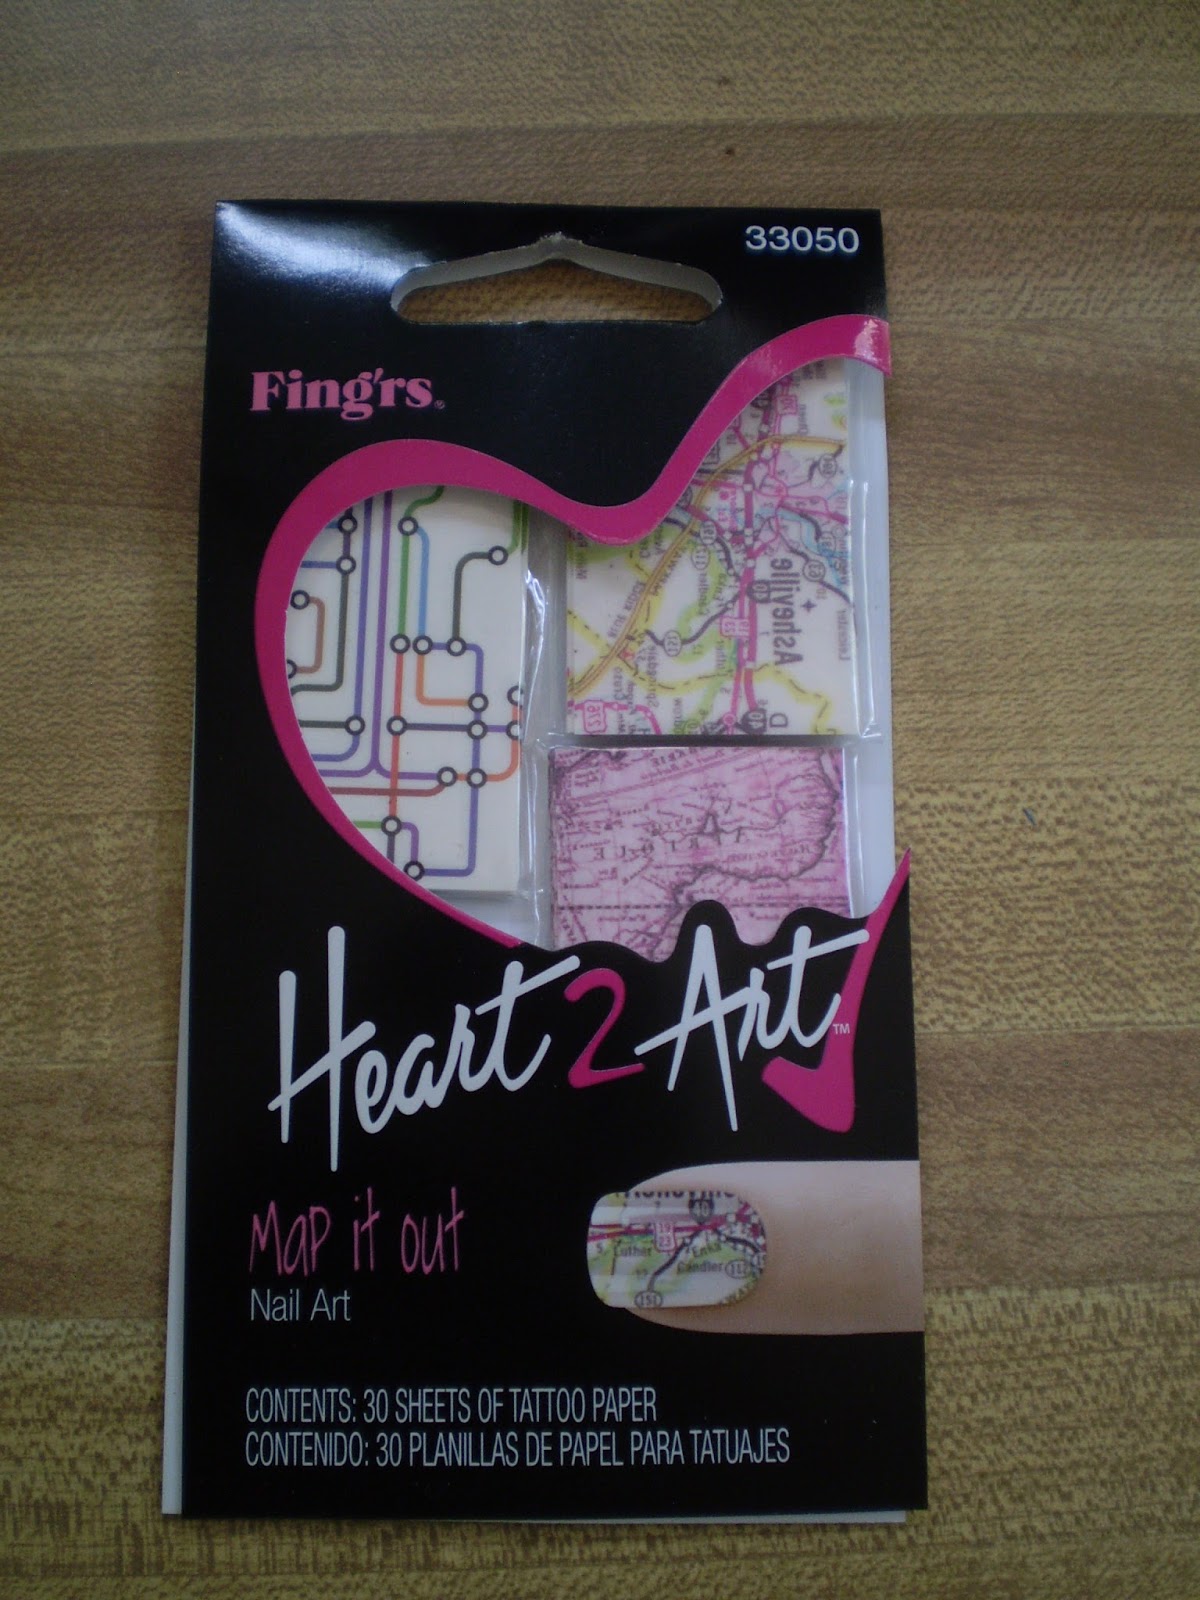
Try as I might, "Delicate Nails" had me stumped. The only thing I could come up with was an ancient map. Did that count as delicate? Thin lines and lettering? But no matter how hard I tried, none of my freehand looked at all good. Then I stumbled across some of my temporary tattoo nail art. This one in particular:


So I ended up going with the map decal. It's still nail art, but it's so easy it feels a bit like cheating almost.


Monday, July 29, 2013

Temporary Nail Tattoos


These are nifty little things. Fing'rs has a line of nail art products out now called "Heart 2 Art" with all kinds of fun things. Stamping plates, gems, striping tape and these cool little nail tattoos. They are not the nail polish strips that have been popping up the last year or so. These are literally just temporary tattoos cut in convenient nail sized squares. They were so easy to put on and each pack comes with 30 sheets. My nails are not all that long so I cut each sheet into quarters. And to top it all off it was cheap! I paid 2.50 bucks for the whole pack.

After the jump I'll show you just how easy these are to apply.

Friday, March 29, 2013

Stamping Plate Binder


I love stamping. It may not be what got me into nail art, but it turned a mild hobby into a full blown obsession! For a while I just had my stamping plates in a tin box, but if you've followed this blog for a bit, you'll know I like to SEE my equipment. I didn't have many plates at the time, but I knew I wanted a better way to store them. Then one day I saw a video by PlasmaSpeedo on YouTube. She was showing how she made a binder to store her plates. She got the idea from another blogger, who probably got it from someone else, and so on. I'm not sure who came up with the idea first, but it was brilliant.

Make your own after the jump!


Thursday, February 21, 2013

Nail Polish Thinner


I like dollar store polish. I can get nearly every color in the rainbow for dirt cheap, but you take a chance with it. A lot of cheap polish I come across is cheap for a reason. It bleeds, stains, is super thin, or more commonly thick. For thick polishes there is an easy fix. Nail Polish Thinner is just a few bucks at your local beauty supply store and can restore polish that is nearly dried out. In fact I had a dried up bottle and a hefty squirt brought it back to life. I shook it up and left it for a few days and boom! It was polish again. Now even though it fixed dried up polish, I don't recommend it for that, as the once-dry polish is greasy. What you want to use thinner for is polishes that are getting gloppy like my Art Deco silver glitter striper was getting. I once heard someone using water to thin polish but I just can't see how that would work, because water and polish literally don't mix. That's the whole theory behind water marbling. Under NO circumstances should you add Nail Polish Remover or Acetone to thin your polish. Remover and Acetone are made to break down and destroy chemicals in polish, so adding it to your bottles will destroy what makes polish, polish.

Check out before and after photos after the jump...